
Preface
This page describes the setup process for the Qbilon Platform. The setup for Qbilon Suite is available here: Qbilon Suite Installer. Qbilon Platform is available as either a “Software as a Service” (SaaS) solution or an on-premises installation. For the SaaS version, you only need the access credentials provided via email and your specific Qbilon instance URL. If you want to install Qbilon on your own hardware and manage the installation yourself, this document provides everything you need for installation, setup, and configuration.System Requirements
Qbilon is a Kubernetes-based application. For simple on-premises setups, we have provided a single-node setup to remove the hassle of setting up your own Kubernetes cluster. However, the hardware requirements vary depending on your workload, i.e., the amount of data you load into Qbilon and the number and type of tasks you plan to run in parallel on your Qbilon instance.Test Setup
This setup is ideal for testing Qbilon initially and can handle up to 10,000-25,000 assets and two to three parallel tasks or automations.- 1 VM,
- 4 assigned CPU cores,
- 16 GB RAM and
- a SSD with 50 GB capacity.
Standard Setup
This setup is well-suited for most use cases and can handle up to 100,000 assets and five to ten parallel tasks or automations.- 1 VM,
- 8 CPU cores,
- 32 GB RAM and
- a SSD with 100 GB capacity.
High Load Setup
Depending on the number of additional parallel tasks or automations you want Qbilon to run, this setup should be adapted accordingly:- 1 VM,
- 8 CPU cores, plus 0.5 CPU cores per additional parallel task or automation,
- 32 GB RAM, plus 1 GB per additional parallel task or automation and
- a SSD with 250 GB capacity.
Please note that these are estimates. Depending on the tasks, you may need more CPU/RAM if they process lots of data simultaneously, or more CPUs if they are computationally intensive.
Enterprise Setup
If you need high availability and elastic scaling via dedicated node pools for your on-premises setup, don’t hesitate to contact us. We will be happy to provide assistance tailored to your needs.Prerequisites
Domain
A Qbilon on-premises installation requires a domain and cannot be used with an IP address alone. To use Qbilon in an on-premises installation, you must provide a valid (sub)domain for the machine on which you are installing Qbilon. There are three ways to do this.-
1 – For production purposes:
- To make Qbilon reachable from the internet, add an explicit A record for the domain in your DNS provider that points to the IP address of the machine on which you plan to install Qbilon.
- If you only want Qbilon to be reachable on your intranet, add the entry to your internal DNS server.
-
For local testing purposes (these solutions will only work on the machine on which the changes were applied):
- 2 – Edit the
hostsfile on your operating system to let the domain redirect to your IP address:- Windows: Open the file
C:\Windows\System32\drivers\etc\hosts. - Mac OS: Open the file
/etc/hostsor/private/etc/hosts. - Linux: Open the file
/etc/hosts. - … and add a new line
<your IP> <your domain>, e.g.,10.8.0.1qbilon.acme.com
- Windows: Open the file
You may need to restart your machine after editing thehostsfile.- 3 – If you don’t have permission to edit your system’s host file, you can also start Chrome with an additional command-line parameter (not via PowerShell but “cmd”) on Windows.:
- 2 – Edit the
The path to your Chrome installation may be different from the one displayed here. Please change it accordingly. Also, replace
qbilon.acme.com with the value you chose for QB_DOMAIN during installation, and replace 10.8.0.1 with the IP address of the machine on which you are installing Qbilon.Operating System
We highly recommend using Ubuntu 24.04. LTS server. Although any other Linux-based operating system should work in theory, Qbilon was specifically tested with Ubuntu 24.04, and we strongly encourage you to use it.User Rights
During installation, you will need a Linux user that can run command with elevated privileges (sudo).
Firewall Rules
To install and run Qbilon without networking issues, your firewall’s “allow list” should include the following domains and their respective ports:- For more information on how to configure your firewall correctly and for assistance with any problems, please refer to the following:
- Microsoft’s official documentation.
- Docker’s official documentation.
Installing Qbilon
Installation
The following scripts are also explained in detail below the setup instructions.- Open a shell on the machine on which you want to install Qbilon and as a user with the above-mentioned user rights, execute the following command:
QB_DOMAIN) and the URL to which all unknown requests shall be redirected (QB_REDIRECT_URL).
- The above command can be supplemented with the following optional parameters so that the installation process runs completely without prompts:
-d <domain>, e.g. “-d test.local”-r <redirect_url>, e.g. “-r https://qbilon.io” The command would then look like:
- Executing the script may take up to 15 minutes. At the end, you should receive the initial access credentials generated for your installation. They will look like this:
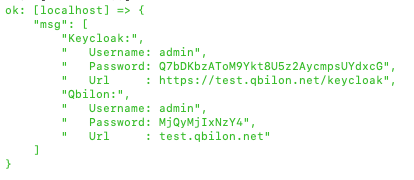
- Note: Please copy those so that you don’t forget them.
- The password provided for Qbilon has to be changed during the first login.
- Keycloak is the identity management solution used by Qbilon and is accessible at
https://<QB_DOMAIN>/keycloak/. - Qbilon itself is the main application and is reachable under
https://<QB_DOMAIN>/.
- Depending on your “Domain” setup, you can now access Qbilon directly or via a specially configured Chrome browser.
QB_REDIRECT_URL.
Newer browsers sometimes try to prevent you from accessing webpages with self-signed SSL certificates, which is the standard for on-prem Qbilon. If you encounter the case where the browser doesn’t provide you a button to proceed nevertheless, then just click into the browser window and type
thisisunsafe and hit enter.Explanation
- The above command downloads and executes the following script:
- The installation script executes the following steps:
- update the package manager information,
- install Python and Python Venvs for Ansible as well as Unzip to extract the setup,
- create a directory called
qbilonand move the current working location to this folder, - create a virtual environment for Ansible in Python called
ansible, - activate the environment (→ your terminal should look like this

- install Ansible and the official Python client library for Kubernetes in the environment,
- download Qbilon’s Ansible playbooks for the on-prem setup,
- unzip those playbooks into your
current folderand - execute the Ansible playbook which will request two values from you via prompt:
QB_DOMAIN: The (sub-)domain under which Qbilon will be reachable, e.g.,qbilon.acme.com.QB_REDIRECT_URL: the redirect URL to which the installation shall redirect any unknown request to e.g.,https://acme.com
- Note: It is expected that there is the following error message during the first execution of the Ansible playbook:

- Note: By far, the longest steps to execute in the Ansible playbook are the installation of Postgres and Keycloak.
License Activation
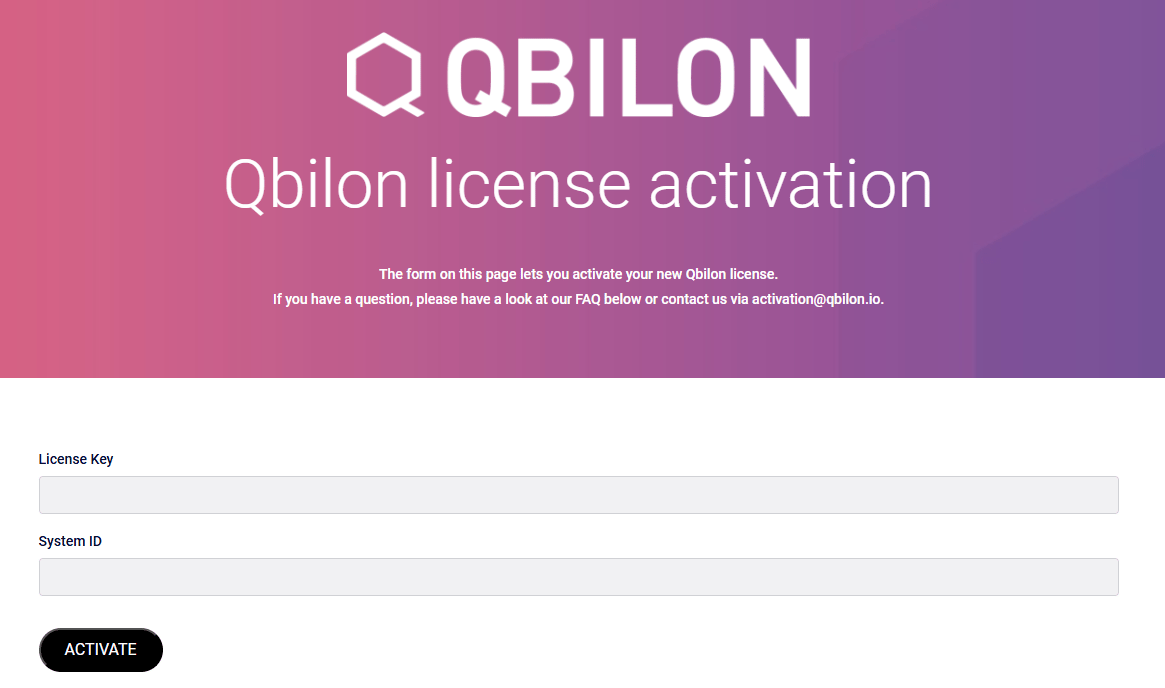
The following login screen is displayed when you create a new Qbilon instance: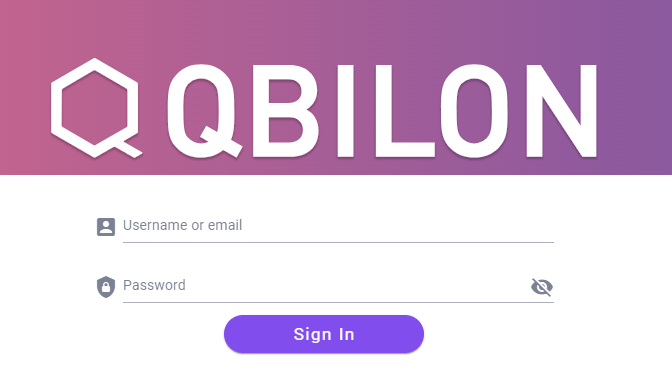
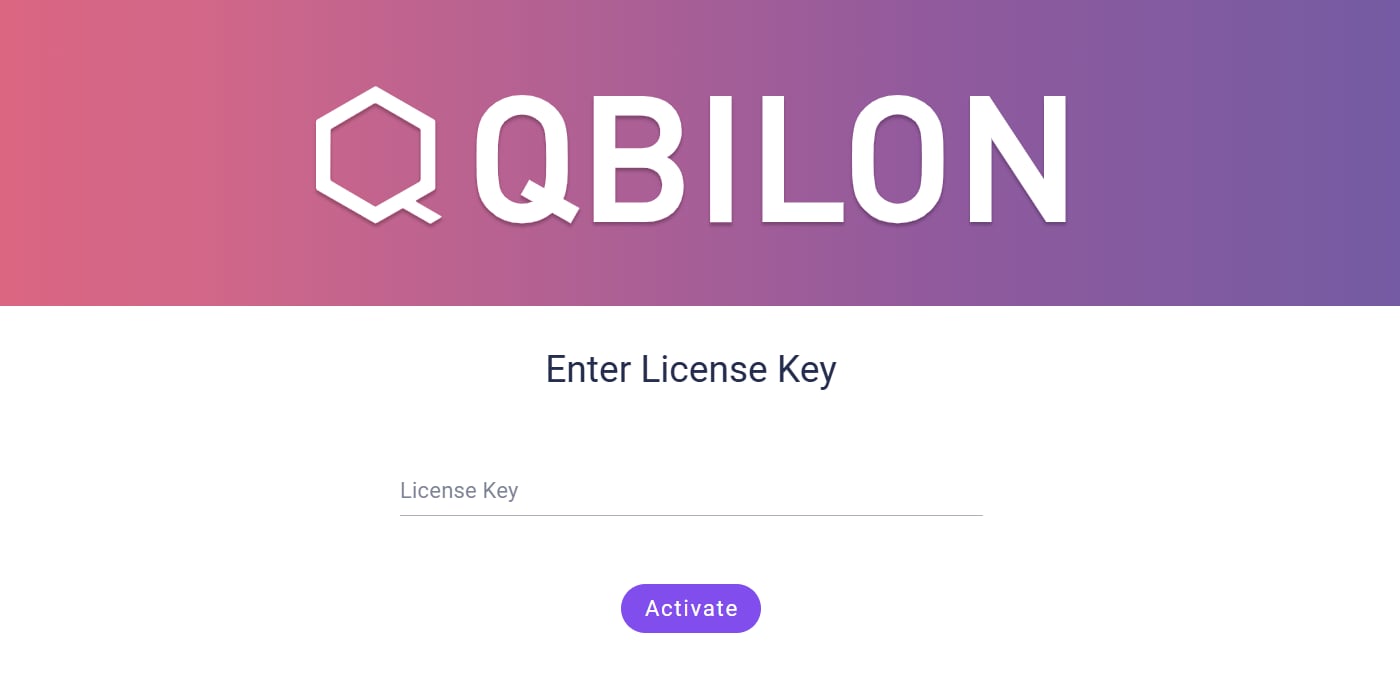
Licence Key and clicking on “Activate”, Qbilon will calculate your unique System ID and display it on the next screen.
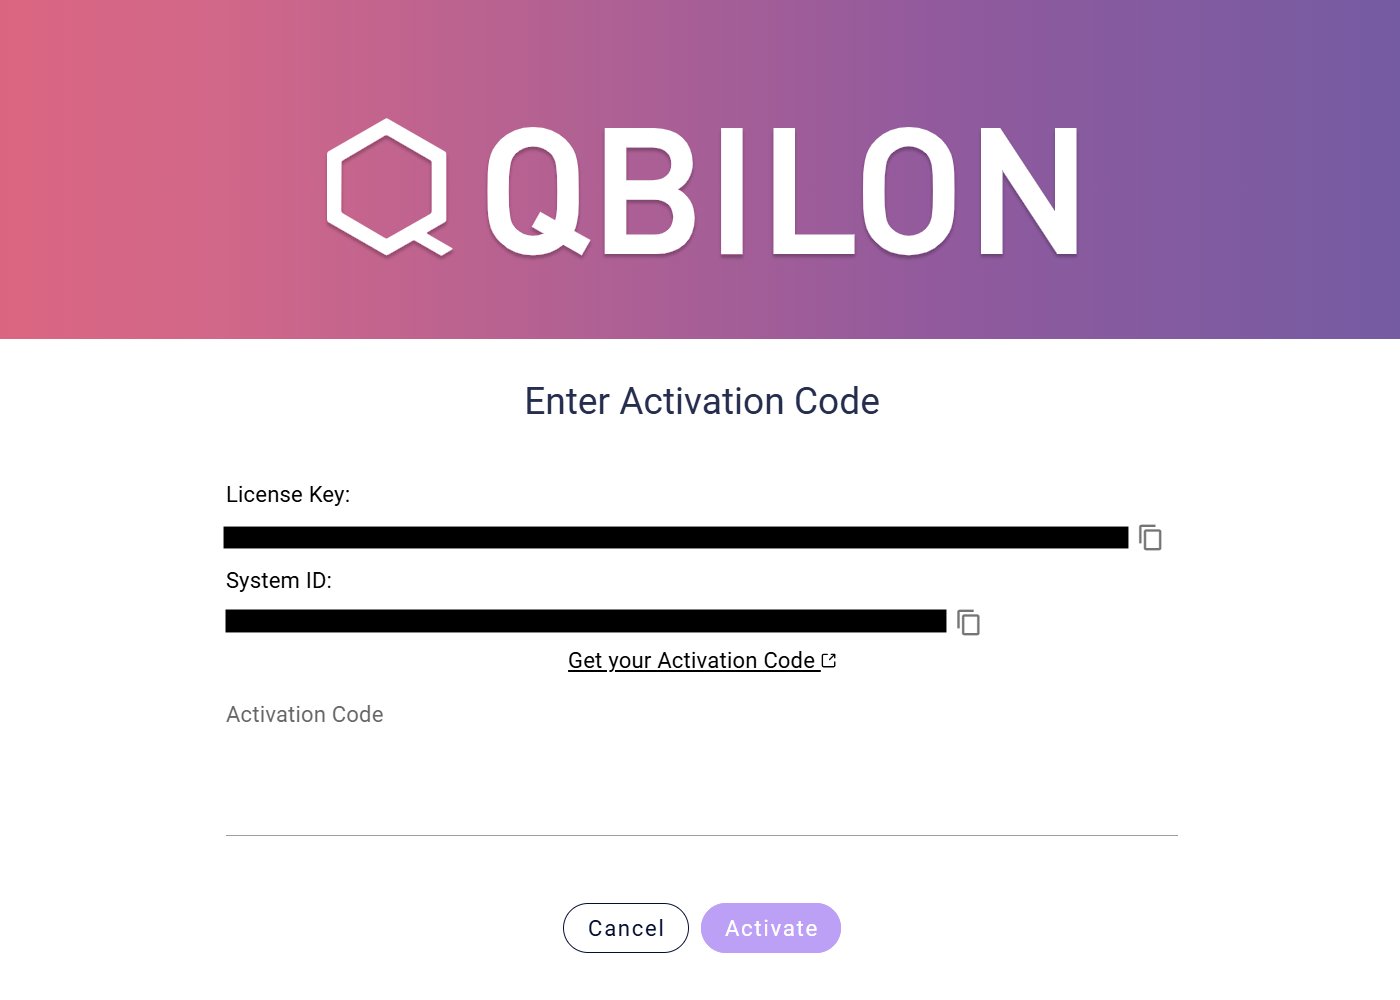
Get your Activation Code link to be redirected to the activation page. There, you can enter your License Key and System ID to generate an Activation Code.
Activation Code. Congratulations! You have successfully unlocked Qbilon and can now begin automatically capturing, analyzing, and optimizing your IT landscape.
Administrating Qbilon
Upgrading
Upgrading from Qbilon v3.0 onwards can be done by simply re-running the initial installation command. To do so, reconnect to the machine on which you installed Qbilon, and, if not already the case, go into the Qbilon folder (by default, this would be~/qbilon). Afterwards execute the following script:
Changing Domain After Setup
If you want to change the domain under which your qbilon instance is reachable after the initial installation you will have to perform one change in Keycloak for Qbilon to work again afterwards. For this you have to:- Open Keycloak, usually reachable under
https://<QB_DOMAIN>/keycloak - Log in with the Keycloak superadmin credentials that have been presented to you during the installation.
- In the dropdown in the upper left select the
qbilonrealm - In the clients select
qbilon-app
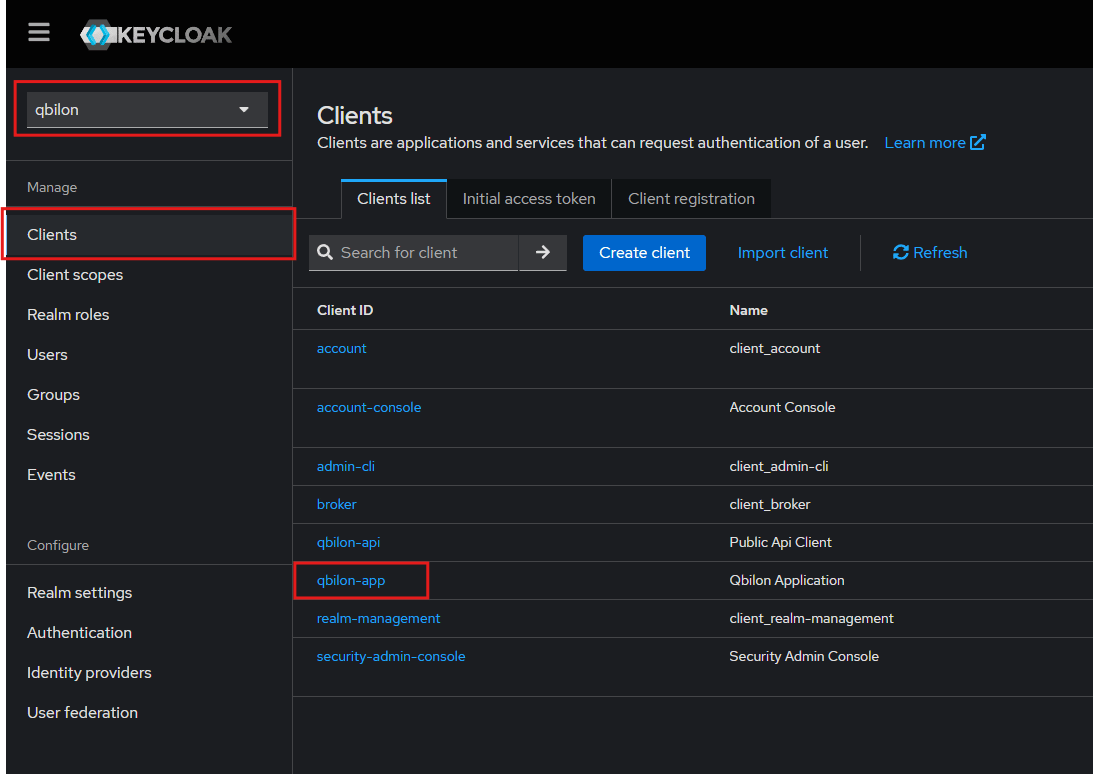
- Replace all occurrences of your old URL with the new one.
The trailing
/* must be preserved for Valid redirect URIs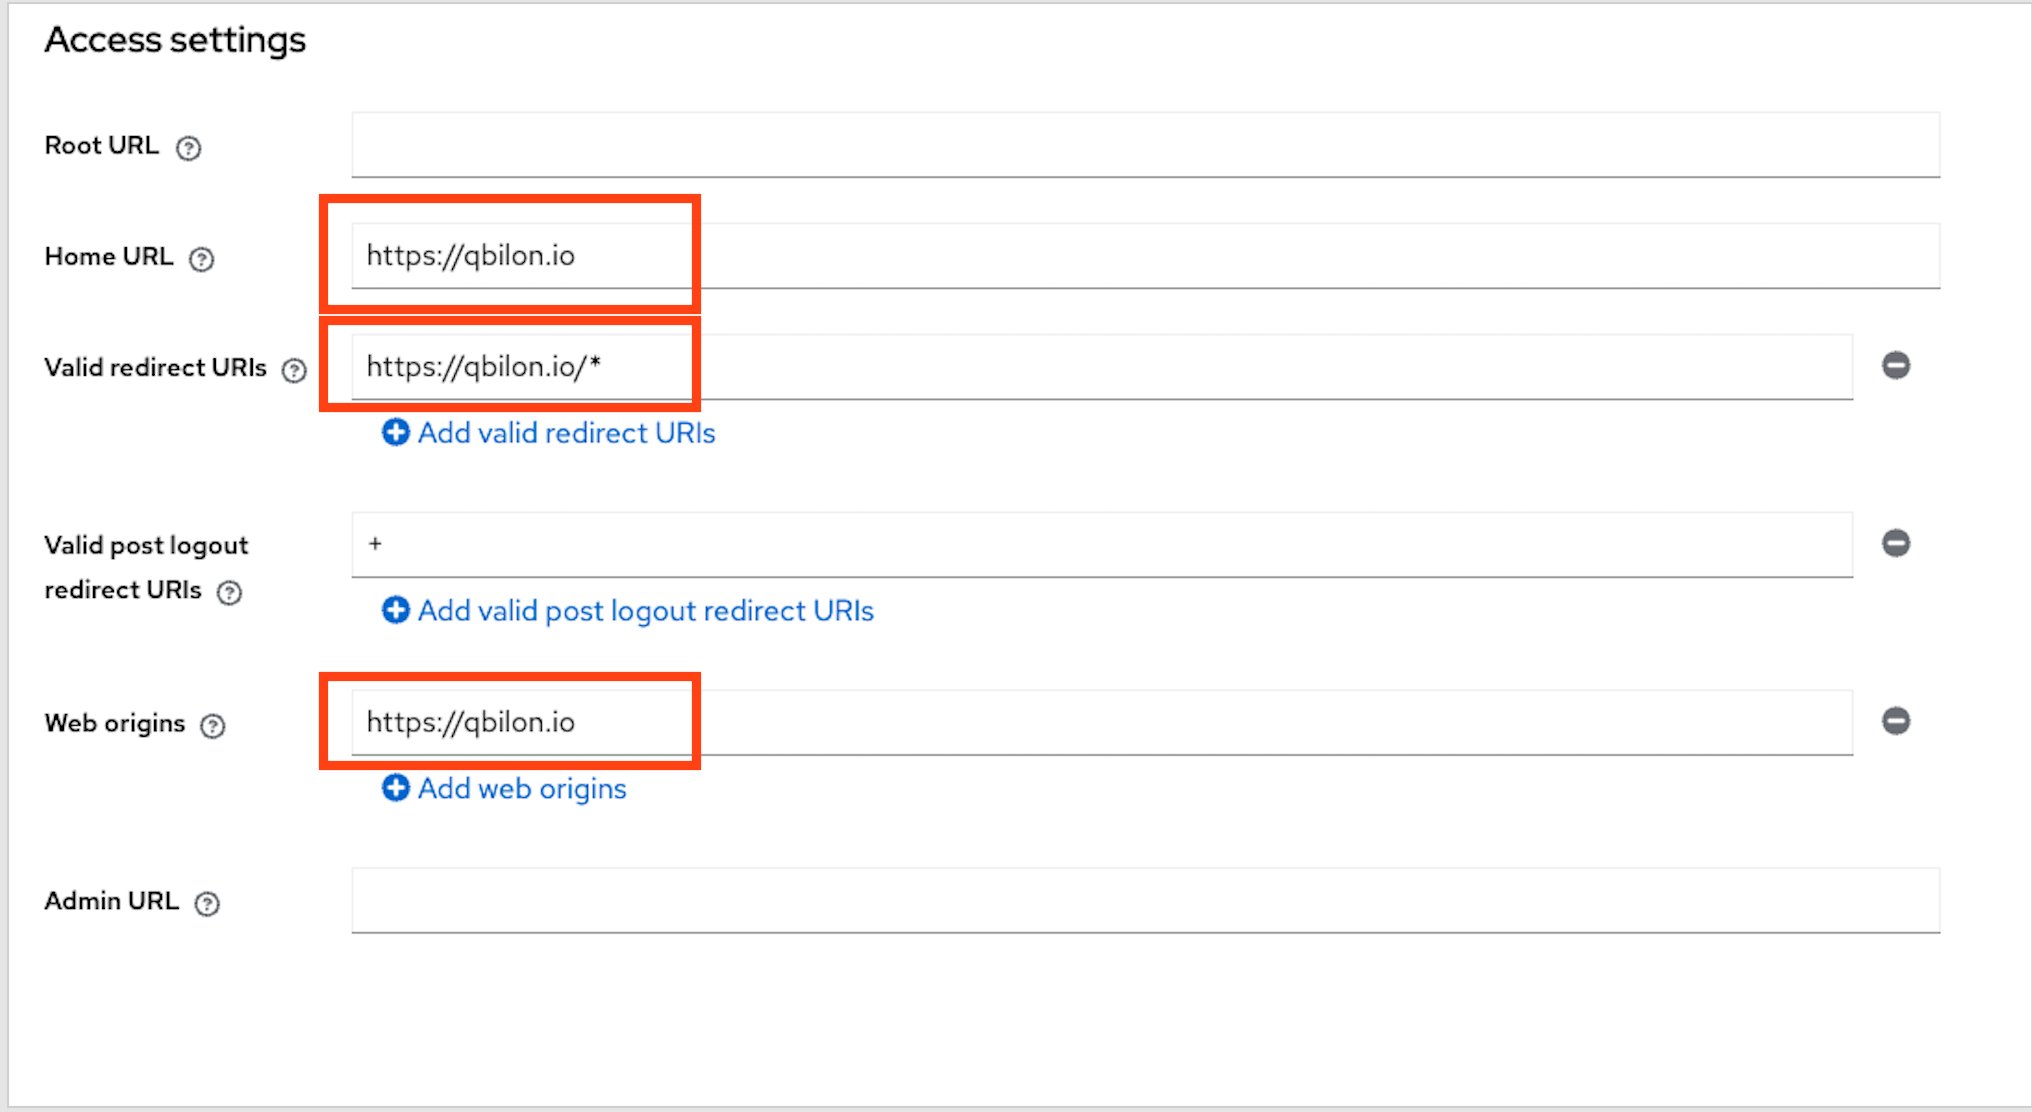
Get Access Credentials After Setup
If you have not written down the original access credential for Qbilon or Keycloak or lost them somehow, then there is still a possibility to retrieve them afterwards. For this you have to open a terminal on the machine where you installed Qbilon and can then enter one of the following commands: For Keycloak credentials:If you have already changed the initial credentials for Qbilon during your first login, then these will not be accessible.
Inspecting Qbilon Installation
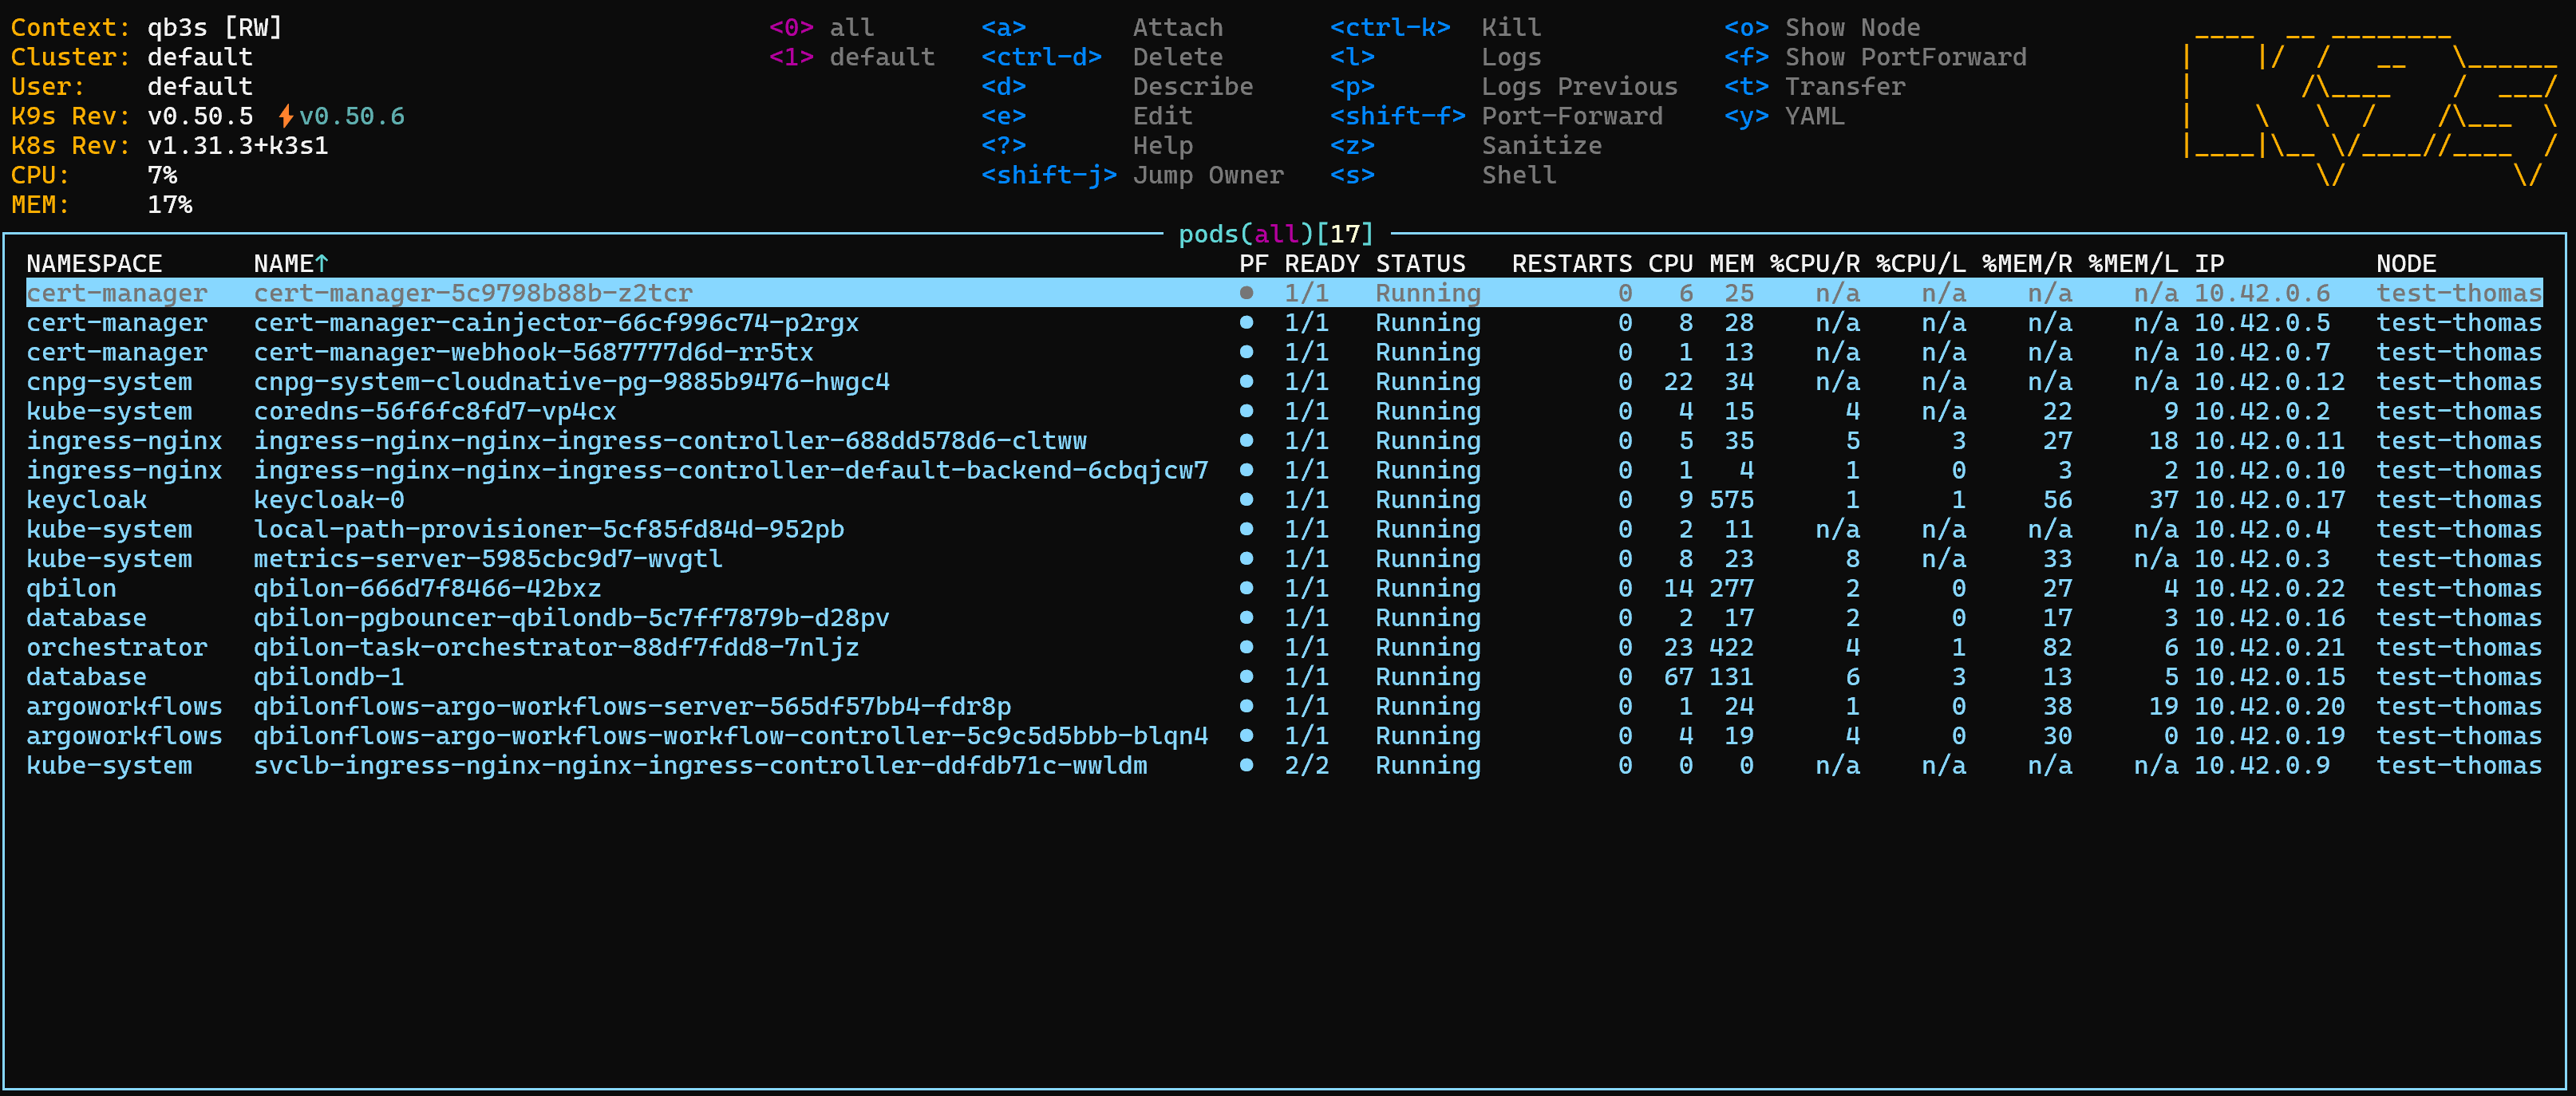
If you want to deeply inspect your qbilon installation we recommend to install K9s on the machine where you installed Qbilon. This can easily be done via these commands: x86:k9s and press 0 you should see a healthy qbilon installation looking similar to this:
Troubleshooting
TASK [Install keycloak] failed Occasionally, the Ansible playbook will fail with the following error message:
deactivate.
None of the Above Worked If you have tried all of the above instructions and are still experiencing issues, please don’t hesitate to contact us via a support ticket. We will respond as quickly as possible.